
bathroom plumbing layout drawing pdf
Bathroom plumbing layout drawings provide a clear visual representation of plumbing systems, including fixtures, pipes, and connections. These diagrams are essential for installations, renovations, and ensuring compliance with plumbing codes. They outline the placement of sinks, toilets, showers, and water supply lines, helping to streamline the process for plumbers and contractors. Accurate drawings ensure proper water flow, drainage, and ventilation, making them vital blueprints for any bathroom project.
Overview of Bathroom Plumbing Layout Plans
Bathroom plumbing layout plans are detailed diagrams illustrating the arrangement of plumbing fixtures, pipes, and connections. These plans typically include the placement of sinks, toilets, showers, and bathtubs, as well as water supply lines, drainage systems, and vent stacks. They provide a clear visual guide for installing, maintaining, or renovating bathroom plumbing systems. Standard symbols and abbreviations are used to represent components, ensuring clarity for plumbers, contractors, and homeowners. These plans are essential for ensuring efficient water flow, proper drainage, and compliance with local plumbing codes.
Importance of Accurate Plumbing Drawings
Accurate plumbing drawings are crucial for ensuring the proper installation, functionality, and safety of bathroom plumbing systems. They prevent costly errors, such as incorrect pipe sizing or improper connections, which can lead to leaks, water damage, or system failures. Detailed diagrams guide plumbers and contractors, reducing the risk of setbacks during construction or renovation. Compliance with local plumbing codes and standards is also ensured, avoiding legal issues and potential hazards. Clear and precise drawings ultimately save time and resources, ensuring a reliable and efficient plumbing system.
Common Symbols and Abbreviations in Plumbing Diagrams
Plumbing diagrams use standardized symbols and abbreviations to represent fixtures, pipes, and connections. Common symbols include circles for fixtures like sinks or toilets, lines for water supply and drainage pipes, and arrows indicating flow direction. Abbreviations such as “BW” for basin waste or “TW” for toilet waste simplify the representation. These symbols ensure clarity and consistency, making it easier for professionals to interpret and execute the design accurately. Understanding these elements is key to reading and creating effective plumbing layouts.
Key Elements of a Bathroom Plumbing Layout
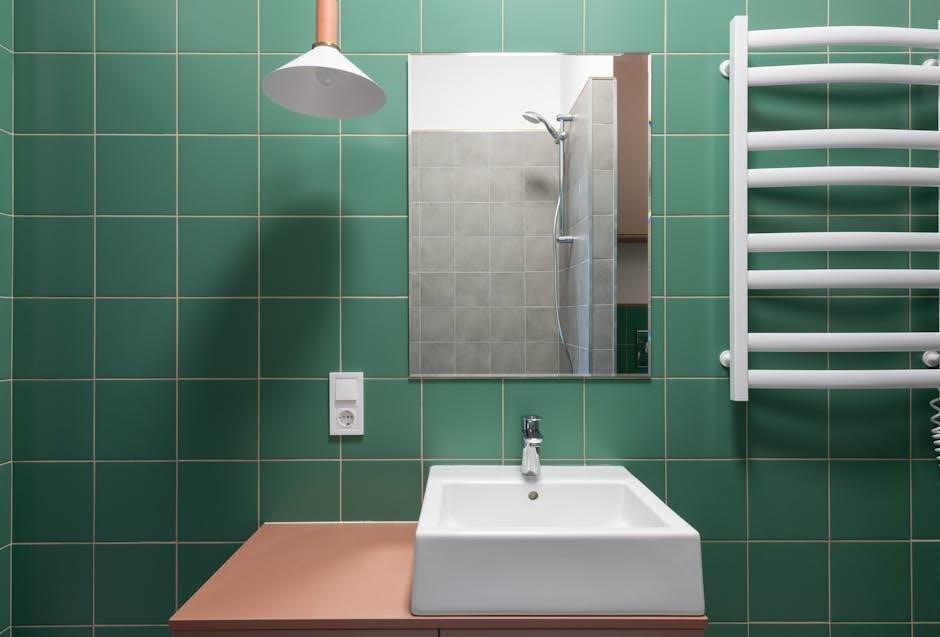
A bathroom plumbing layout includes fixtures, water supply lines, drainage pipes, and ventilation systems. It ensures proper water flow, drainage, and ventilation for functionality and safety.
Fixture Locations and Dimensions
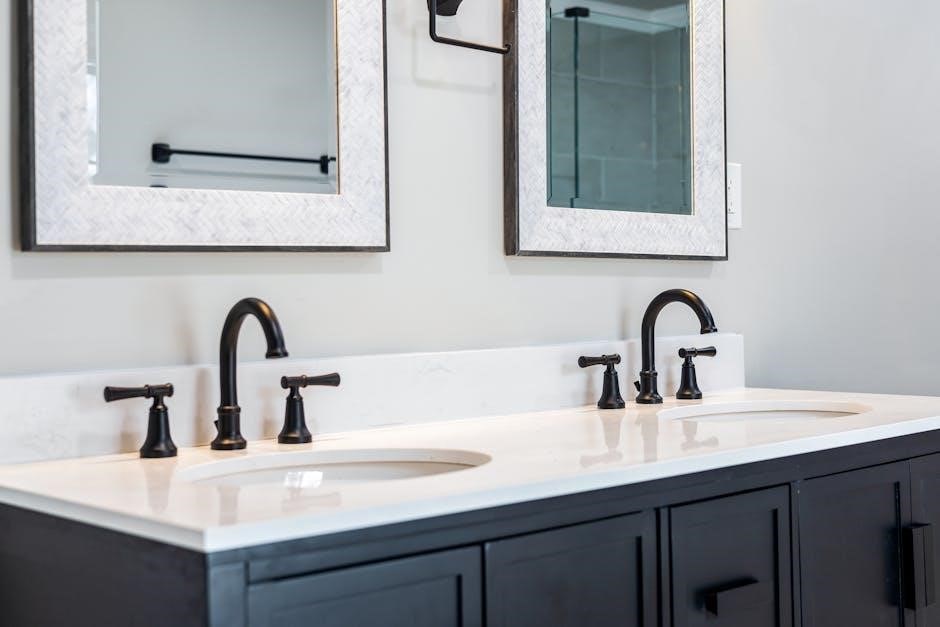
In bathroom plumbing layouts, fixture locations and dimensions are critical for functionality and compliance. Standard dimensions include sinks (22-36 inches wide), toilets (28-30 inches wide), and showers (30×60 inches). Accurate placement ensures proper installation, accessibility, and adherence to plumbing codes. These details are clearly marked in PDF drawings, helping contractors and plumbers position fixtures correctly. Proper spacing also prevents issues like water splashing or inadequate ventilation, ensuring a safe and efficient bathroom design.
Water Supply and Drainage Systems
Water supply and drainage systems are fundamental components in bathroom plumbing layouts. These systems include water supply lines, drainage pipes, vents, and traps. The layout ensures proper water distribution to fixtures like sinks, toilets, and showers while facilitating waste removal. Detailed PDF drawings illustrate the routing of supply lines and drainage pipes, highlighting connections and vents. Proper installation prevents issues like leaks, water hammer, or sewer backups, ensuring efficient and safe plumbing operation. Accurate designs also aid in meeting local plumbing codes and standards.
Vent Stack and Traps in Bathroom Plumbing
Vent stacks and traps are crucial for maintaining proper air pressure and preventing sewer gases in bathroom plumbing systems. The vent stack connects to the drainage system, allowing gases to escape through the roof, while traps under fixtures create water seals to block gas entry. In PDF layouts, these components are clearly marked, ensuring their correct installation and function. Proper placement and sizing of vents and traps are essential for system efficiency and odor prevention, as detailed in bathroom plumbing drawings.
Tools and Software for Creating Plumbing Layouts
AutoCAD and specialized plumbing software are essential for creating detailed bathroom plumbing layouts. These tools offer features like automated calculations, 3D modeling, and precise measurements, ensuring accuracy and efficiency in designs. Professionals and DIYers alike rely on these programs to draft and visualize plumbing systems effectively, as highlighted in bathroom plumbing layout drawing PDF resources.
AutoCAD and CAD Software for Plumbing Designs
AutoCAD and CAD software are indispensable tools for creating precise bathroom plumbing layouts. They allow users to design complex systems with accuracy, including water supply lines, drainage, and vent stacks. These programs offer features like layer management, annotations, and 3D modeling, enabling detailed visualizations. CAD software simplifies the creation of PDF drawings, ensuring compliance with plumbing codes. Professionals and DIYers alike benefit from these tools, as they facilitate efficient and error-free plumbing designs tailored to specific bathroom configurations and requirements.
Plumbing Layout Software and Apps
Specialized plumbing layout software and apps simplify the design process for bathroom plumbing systems. Tools like AutoCAD, PlumbingCAD, and others offer features for creating detailed diagrams, including water supply lines, drains, and vents. These programs allow users to generate precise PDF drawings, ensuring accuracy and compliance with plumbing codes. Many apps also provide libraries of plumbing symbols and templates, making it easier to customize layouts for specific projects. They cater to both professionals and DIY enthusiasts, offering scalable solutions for bathroom plumbing designs.

Best Practices for Designing Bathroom Plumbing Systems
Ensure clear diagrams and accurate measurements for efficient installations. Adhere to plumbing codes and consider space optimization for functionality. Plan for proper water flow and drainage to avoid issues.
Compliance with Plumbing Codes and Standards
Compliance with plumbing codes and standards is crucial for safety, functionality, and legal requirements. Ensure all designs meet local and international regulations, such as UPC or IPC. Use approved materials and follow guidelines for pipe sizing, water pressure, and drainage systems. Properly label fixtures and connections to avoid violations. Regular inspections and adherence to NFPA 13 or similar standards ensure long-term reliability and prevent potential hazards in bathroom plumbing systems.
Optimizing Space in Small Bathrooms
Optimizing space in small bathrooms requires careful planning and design. Use efficient layouts to maximize functionality while minimizing footprint. Consider wall-mounted fixtures, such as toilets and sinks, to save floor space. Ensure proper placement of plumbing components to avoid clutter. Utilize vertical storage solutions and reflective surfaces like mirrors to create the illusion of a larger area. A well-designed plumbing layout ensures comfort and accessibility, even in compact spaces, making small bathrooms both practical and aesthetically appealing.
Common Mistakes to Avoid in Plumbing Layouts
Common mistakes include incorrect pipe sizing, improper ventilation, and drainage design flaws. These errors can lead to system inefficiencies, backups, and compliance issues. Avoiding them ensures reliability and safety.
Incorrect Pipe Sizing and Sloping
Incorrect pipe sizing and improper sloping are common issues in plumbing layouts. Undersized pipes can lead to low water pressure, while oversized pipes may result in unnecessary costs. Similarly, improper sloping of drainage pipes can cause poor water flow, leading to clogs and backups. Proper sizing ensures efficient water distribution, while correct sloping prevents siphoning and maintains trap integrity. These errors can cause system inefficiencies, costly repairs, and potential health hazards. Ensuring compliance with plumbing codes and standards is crucial to avoid these mistakes.
Improper Ventilation and Drainage Design
Improper ventilation and drainage design can lead to severe plumbing issues, such as sewer gas odors, slow draining fixtures, and potential health hazards. Vent stacks are essential to maintain air pressure and prevent siphoning of water traps, while proper drainage design ensures waste removal without clogs. Incorrectly sized or placed vents can cause backups and poor system performance. Addressing these issues requires careful planning, adherence to plumbing codes, and the use of accurate layout drawings to ensure functionality and safety in bathroom plumbing systems.
Case Studies and Examples
Case studies provide insights into real-world bathroom plumbing layouts, showcasing residential and commercial designs. Examples include detailed PDF diagrams of tub showers, drains, and vent stacks, aiding understanding.
Residential Bathroom Plumbing Layout Examples
Residential bathroom plumbing layouts often include detailed diagrams for small to medium-sized bathrooms. These examples typically show the placement of fixtures like sinks, toilets, and showers, along with their pipe connections. PDF drawings provide clear visual representations of water supply lines, drainage systems, and vent stacks. They also highlight space-saving designs, ensuring efficient use of area while maintaining proper plumbing functionality. These diagrams are essential for homeowners and contractors to plan and execute bathroom renovations accurately.
Commercial Bathroom Plumbing Design Case Studies
Commercial bathroom plumbing designs often involve more complex layouts due to higher traffic and larger spaces. Case studies reveal the use of circuit vents for efficient drainage in large areas. These designs include multiple fixtures, such as rows of sinks and toilets, with detailed water supply and waste lines; PDF drawings showcase how to optimize space while ensuring compliance with plumbing codes. Such layouts emphasize durability and accessibility, making them suitable for offices, malls, and public facilities. Proper planning is crucial to handle high demand efficiently.
A well-designed bathroom plumbing layout ensures functionality and compliance. Finalize the drawing, then implement it in construction with proper materials and professional oversight for a successful project.
Finalizing the Plumbing Layout Drawing
Finalizing the plumbing layout drawing involves reviewing all components, ensuring accuracy, and compliance with codes. Check pipe sizes, fixture locations, and connections. Verify ventilation and drainage systems are correctly designed. Include legends for symbols and abbreviations used. Ensure the drawing is scaled appropriately and includes all necessary details for installation. Review the plan with contractors and make adjustments as needed. A finalized drawing serves as a clear guide for executing the bathroom plumbing system effectively and efficiently.
Implementing the Design in Construction
Implementing the design involves translating the plumbing layout drawing into physical installation. Contractors use the drawing to locate fixtures, run pipes, and connect systems. Proper sequencing ensures water supply and drainage lines are installed correctly. Ventilation and traps are crucial for functionality. Regular inspections verify adherence to the plan and address potential issues early. Communication between plumbers and other trades ensures a cohesive installation, resulting in a functional and efficient bathroom plumbing system that meets design specifications and standards.