
diy hose guide
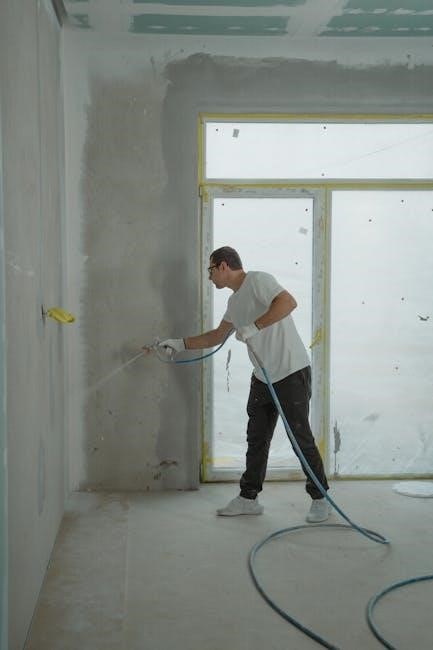
Welcome to the DIY Hose Guide! This comprehensive resource helps you master hose installation, maintenance, and customization. Learn essential tools, materials, and safety tips to tackle projects confidently.

Materials and Tools
Explore essential materials and tools for DIY hose projects. Discover the best rubber, PVC, and silicone hoses, fittings, and equipment needed for successful installations and repairs.
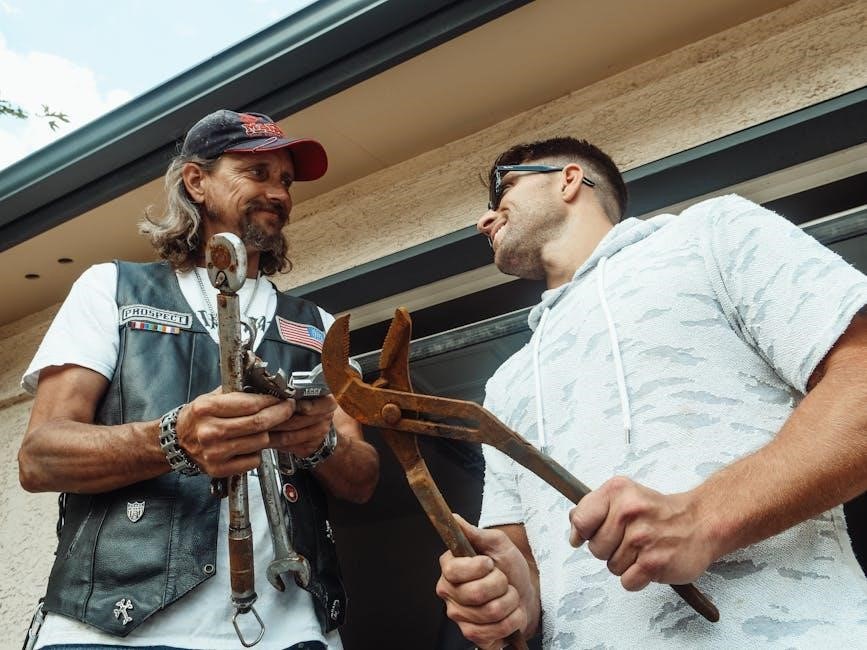
Essential Tools
For DIY hose projects, gather essential tools like a pipe cutter, adjustable wrench, pliers, and a utility knife. A pressure tester and fitting remover are also crucial. Use a measuring tape for accurate cuts and a deburring tool to smooth rough edges. Ensure you have a set of wrenches for tightening fittings securely. Additionally, a drill with bits may be needed for custom installations. Safety gloves and goggles are must-haves to protect yourself while working. Organizing these tools in a dedicated kit will streamline your workflow and ensure efficiency in any hose-related task.
Required Materials
For a DIY hose project, you’ll need a durable hose suitable for your application, such as rubber, PVC, or metal-reinforced options. Fittings like couplers, adapters, and connectors are essential for secure connections; Ensure you have gaskets or O-rings to prevent leaks. Thread sealants like Teflon tape or pipe dope are crucial for threaded fittings. If installing permanently, consider mounting brackets or clamps. For custom jobs, additional materials like quick-connect couplings or pressure-resistant hoses may be necessary. Always choose materials compatible with your application’s pressure and fluid type to ensure safety and longevity. Proper selection of these materials is key to a successful DIY hose setup.
Understanding Hose Types
Understanding Hose Types involves categorizing hoses by material and application. Common types include rubber hoses for flexibility, PVC hoses for durability, and metal-reinforced hoses for high-pressure situations.
By Material
Hoses are categorized by their material, each offering unique benefits. Rubber hoses provide flexibility and resistance to abrasion, ideal for general-purpose applications. PVC hoses are lightweight, durable, and resistant to chemicals, making them perfect for water and irrigation systems. Silicone hoses are heat-resistant and versatile, often used in high-temperature environments like engines or industrial settings. Metal-reinforced hoses, such as stainless steel or braided options, are designed for extreme pressure and durability, commonly used in hydraulic systems or heavy-duty machinery. Understanding the material ensures the right hose is selected for the job, optimizing performance and longevity.
By Application
Hoses are tailored to specific applications, ensuring optimal performance. Garden hoses are designed for watering plants and cleaning outdoor spaces, often featuring kink-resistant and UV-stabilized materials. Industrial hoses are built for heavy-duty tasks like transferring chemicals, fuels, or compressed air, with reinforced layers for durability. Agricultural hoses are designed for irrigation systems, capable of withstanding rough handling and varying water pressures. Marine hoses are resistant to saltwater and flexible for use on boats. Choosing the right hose for your application ensures safety, efficiency, and longevity, preventing failures and leaks. Understanding your project’s demands helps select the perfect hose for the job.
Measuring and Cutting
Accurate measuring and precise cutting are crucial for a proper hose fit. Use a tape measure to determine the exact length needed. Cut cleanly with a sharp tubing cutter or utility knife for smooth edges. Always double-check measurements to avoid errors and ensure safety.
Measuring Techniques
Accurate measuring is essential for a proper fit. For flexible hoses, stretch them fully and measure length with a tape measure. For rigid hoses, clamp them securely to maintain shape while measuring. Mark the desired length clearly with a permanent marker. When measuring for bends or angles, ensure the hose is in its natural position. Use a flexible measuring tape for curved sections. Double-check measurements to avoid errors. For complex setups, create a diagram to visualize the hose path. Always account for fittings and connectors when calculating total length. Proper measuring ensures a leak-free and efficient system, saving time and materials.
Cutting Methods
For precise cuts, use a sharp utility knife or a tubing cutter. For flexible hoses, place the hose on a flat surface and apply even pressure. Cut slowly, following the marked length. For rigid hoses, use a saw or pipe cutter for clean edges. Always wear gloves and safety glasses. To avoid fraying, use a heat tool or lighter to slightly melt the cut edge of flexible hoses. For reinforced hoses, cut carefully to prevent damaging the inner layers. Use a vice to hold the hose steady for straight cuts. Double-check the length before cutting to ensure accuracy. Proper cutting techniques prevent leaks and ensure a professional finish.
Attaching Fittings
Attaching fittings securely connects hoses to pumps, sprinklers, or other equipment. Proper installation ensures leak-free operation and maximizes water flow efficiency in your DIY projects.
Fitting Types
Fittings are categorized by their connection types and functions. Common types include threaded fittings, which screw into place, and push-on fittings, offering quick connections. Bark fittings are ideal for garden hoses, while camlock fittings provide easy disconnection. NPT (National Pipe Tapered) fittings are widely used for their tapered threads, ensuring a tight seal. Each type serves specific applications, from irrigation to industrial use. Choosing the right fitting ensures compatibility and durability, preventing leaks and ensuring optimal water flow in your DIY projects. Proper selection is crucial for safe and efficient operation.
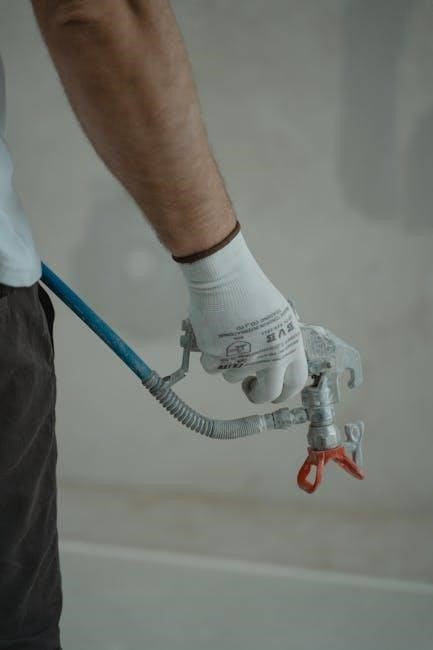
Attachment Process
Attaching fittings to a hose involves secure connections to ensure durability and prevent leaks. Begin by lubricating the fitting threads with plumber’s tape or silicone spray for a smooth attachment. Use wrenches to tighten threaded fittings, ensuring a snug fit without over-tightening. For barbed fittings, slide the hose over the barb and secure it with a clamp. Push-on fittings require aligning the hose precisely before pushing firmly into place. Always follow manufacturer instructions for specific fitting types. Proper alignment and tightening ensure a leak-free connection. Double-check compatibility between the hose and fitting materials for optimal performance and longevity. Testing after attachment is recommended to confirm reliability.
Testing
Test hoses by inspecting for visible damage, leaks, or kinks. Conduct pressure tests to ensure durability under expected conditions. Always perform leak checks before final installation.
Leak Testing
Leak testing is crucial for ensuring the integrity of your DIY hose setup. Start by visually inspecting the hose for visible cracks, cuts, or worn-out areas. Next, pressurize the hose with water or air to check for any leaks. Pay special attention to connections and couplings, as these are common leak points. If you detect water droplets or hear air escaping, mark the spot for repair. Regular leak testing helps prevent unexpected failures during use. Always perform this step before final installation to ensure reliability. By incorporating leak testing into your routine, you can extend the lifespan of your hose and maintain its performance.
Pressure Test
A pressure test is essential to ensure your hose system operates safely and efficiently. Begin by attaching the hose to a reliable pressure source, such as a water pump or compressor. Gradually increase the pressure to the recommended level, monitoring for any signs of weakness or failure. Use a pressure gauge to verify readings accurately. Inspect the hose and fittings for bulges, leaks, or damage under stress. If the hose exceeds its pressure rating, replace it immediately. Regular pressure testing helps identify potential issues before they cause system failures. Always follow the manufacturer’s guidelines to ensure accurate and safe testing procedures.
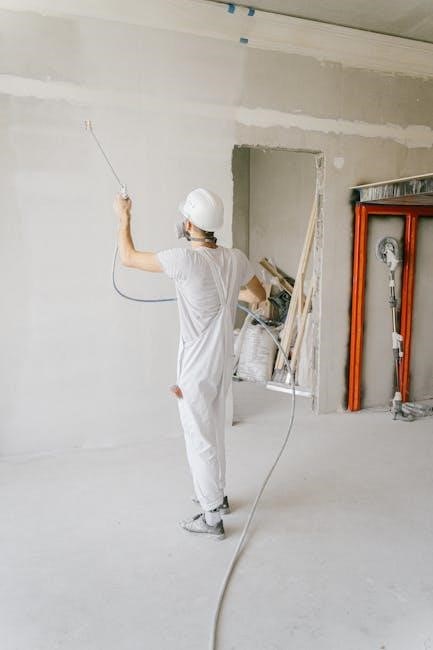
Safety Tips
Always wear protective gear, including gloves and safety glasses, when working with hoses to prevent injury from debris or sudden bursts. Ensure the work area is clear of obstacles to avoid tripping. Regularly inspect hoses for signs of wear, such as cracks or frays, and replace them immediately if damaged. Use the correct tools for the job to prevent accidental damage to the hose or fittings. Never exceed the recommended pressure rating for your hose, as this can lead to failure. Follow the manufacturer’s guidelines for proper usage and maintenance. Keep loose clothing and long hair tied back to avoid entanglement with tools or equipment. Proper ventilation is essential when working with certain materials to prevent inhaling harmful fumes. Prioritize safety to ensure a successful and incident-free project.
Maintenance
Regular maintenance is crucial to extend the lifespan of your DIY hose setup. Inspect hoses periodically for signs of wear, such as cracks, frays, or leaks, and address issues promptly. Store hoses in a dry, shaded area to prevent damage from UV exposure or pests. Avoid kinking or twisting hoses, as this can weaken their structure. Clean hoses regularly, especially after exposure to dirt or chemicals, to prevent blockages and contamination. Lubricate fittings and connections to ensure smooth operation and prevent corrosion. Replace worn or damaged parts immediately to maintain performance and safety. Proper care ensures your hose system remains reliable and efficient over time.
Troubleshooting
Troubleshooting is essential for resolving common issues with your DIY hose setup. Leaks often occur at fittings; inspect for loose connections or damaged gaskets and tighten or replace them. Kinking or twisting can restrict water flow; straighten the hose carefully to restore pressure. Blockages may develop from debris; flush the hose with clean water or use a brush to clear obstructions. If the hose bursts, identify the weakest point and replace the damaged section. Corrosion on fittings can be addressed by cleaning or replacing them. Regular inspection and prompt repairs will ensure your hose system functions efficiently and lasts longer. Addressing issues early prevents costly or time-consuming fixes later.
Creative Uses
Discover the versatility of your DIY hose with creative applications beyond traditional watering. Use it as a makeshift sprinkler system for lawn irrigation or create a unique water feature in your garden. For outdoor enthusiasts, a customized hose can serve as a portable shower for camping trips or a rinse station for washing bikes. In workshops, it can act as a coolant supply for tools or a cleaning aid for equipment. DIY hoses can also be repurposed for seasonal decorations, such as icing beer in summer or creating festive displays. With a little ingenuity, your hose can become a multi-functional tool, enhancing both practicality and fun in various projects.
DIY Hose Projects
Explore exciting DIY projects that bring functionality and creativity to your home or garden. Create a custom irrigation system for your plants or design a decorative water feature. Transform an old hose into a unique outdoor shower for camping or swimming areas. Another innovative idea is crafting a beer cooler for summer gatherings by threading ice through the hose. You can also repurpose hoses as durable jump ropes or pet toys. For seasonal decor, use hoses to create festive lighting displays or outline pathways. These projects highlight the versatility of hoses, offering practical and fun solutions for various needs and interests.
Additional Resources
For further learning, explore online tutorials, forums, and manufacturer manuals. Websites like YouTube offer video guides for hose projects. Specialized forums share expert advice and troubleshooting tips. Visit manufacturer websites for detailed product specifications and installation guides. Books on plumbing and DIY projects provide in-depth knowledge. Online courses can enhance your skills in hose customization and repair. These resources will help you stay updated on the latest trends and techniques in DIY hose projects, ensuring your work is efficient and safe. Explore these resources to expand your expertise and tackle more complex tasks with confidence.